
Acrylic Pour Name Canvas
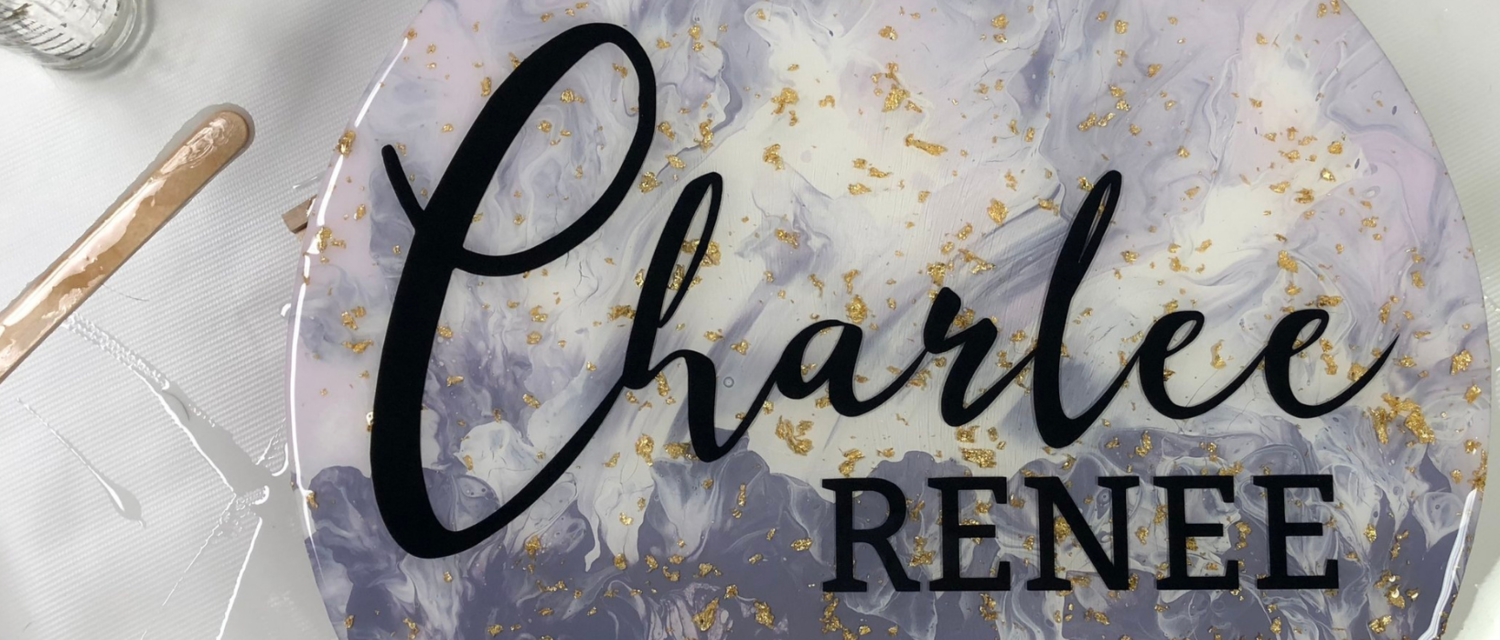
This is by far, my favorite project I've done in a while. The pictures don't do the gold flakes justice and the shine and clarity is incredible.


MATERIALS
Artists canvas, round size 24 inches from Michaels (couldn't find this online but it's always in the store when I stop in)
Acrylic interior paint from PPG Paints stores, I got the small pint samples ( any acrylic paint will do! )
Black removable vinyl, Cricut's brand ( permanent will work too )
Gold Foil, available in packs of 100 from Amazon for only $6
First, I accomplish the acrylic pour. This can be a very messy process so make sure you have your entire space covered with tarps, cardboard, anything that will catch the paint.
I let the canvas set and dry. Depending on how thick the paint is from the pour, it can take up to three days for it to be completely dried.
Next, the epoxy resin. For this, I mixed the hardener and resin in a cup together. You have to do 50/50 of each to get the correct consistency. Once it was stirred, I added in the gold flakes. I broke up the sheets by glueing spots down and using a brush to break it up.
I then poured a thin layer on the canvas to seal in the acrylic paint. Make sure the canvas is off the ground and not on anything. Once the epoxy dries it is not forgiving and will stick your canvas to whatever it was set on.
After that first layer of epoxy dried (if you use the one I've suggested above, it's a 24 hour curing time. Make sure you check the curing time!) I then transferred the black vinyl cut to the surface of the epoxy. Oh man, this was tough. The gold flakes stuck up making it a very uneven surface.
However, it did work. I got it transferred. Then, poured the next layer of epoxy. This time I used my heat gun to get rid of the bubbles that were visible. This made the epoxy crystal clear and I highly suggest you do this. A hairdryer won't work, you have to use a blow torch or a heat gun.
I repeated the last time with two layers on top to fully cover the vinyl and voila! A beautiful piece of art for a mom to hang in her baby's room to enjoy.